Bootstrap Radio Toggle
Overview
In some instances the little things come to be certainly the super fundamental given that the entire picture is in reality a all being composed of a lot of little components polished and stacked if you want to show and look just as a well-oiled bright machine. These types of bold words might just look a little too much when it comes down to make commands but in the case that you just think about it for a little there is actually only a single component helping the visitor to grab one among a several provided options. Therefore if you are actually possessing some forms through this type of selections controls over your numerous web sites does this guarantee they are going to all look identical? And most significantly-- would you settle for that?
Fortunately for us the current version of the absolute most favored mobile friendly framework - Bootstrap 4 comes completely loaded with a bright new approach to the responsive activity of the Bootstrap Radio Button regulations and just what is bright new for this version-- the so called custom form regulations-- a palette of predefined appeals you can absolutely simply involve and apply just to put in the so desired these days range in the functional presentations of more or less boring form features. Therefore let's inspect just how the radio switches are planned to be defined and designated in Bootstrap 4. ( get more info)
The way to apply the Bootstrap radio button:
For you to set up a radio tab we primarily require a
<div>.form-check.form-check-inline.radio.radio-inline.disabledIn the
.form-check<label>.form-check-label<input>.form-check-inputtype = “radio”name = “ ~ same name for all the options ~ ”id = “ ~ unique ID ~ “value=” ~some value here ~ ”disabled<input>This is in addition the location to identify in the case that you wish the radio control to primarily load as checked once the web page gets loaded. In the event that this is certainly what you are actually after-- instead of
disabledchecked<input>checkedCheckbox and even Bootstrap Radio Value as an examples
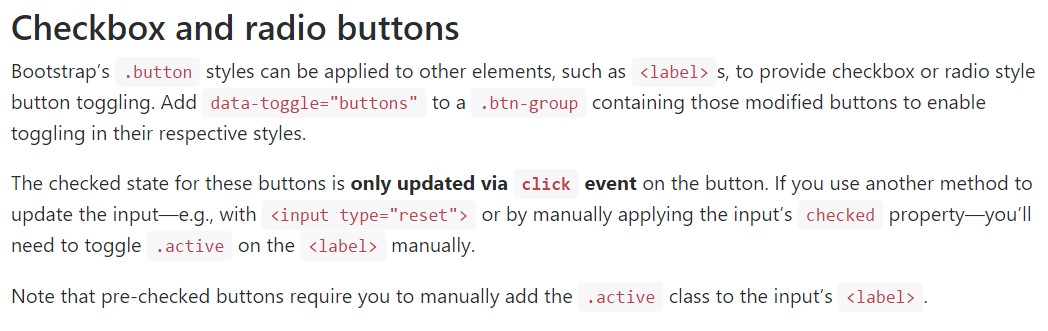
The inspected condition for these kinds of buttons is only updated by using click event on the button. If you make use of one other approach to upgrade the input-- e.g., with
<input type="reset">.active<label>Take note of that pre-checked buttons demand you to manually add in the
.active<label>Checkbox

<div class="btn-group" data-toggle="buttons">
  <label class="btn btn-primary active">
    <input type="checkbox" checked autocomplete="off"> Checkbox 1 (pre-checked)
  </label>
  <label class="btn btn-primary">
    <input type="checkbox" autocomplete="off"> Checkbox 2
  </label>
  <label class="btn btn-primary">
    <input type="checkbox" autocomplete="off"> Checkbox 3
  </label>
</div>
Radio

<div class="btn-group" data-toggle="buttons">
  <label class="btn btn-primary active">
    <input type="radio" name="options" id="option1" autocomplete="off" checked> Radio 1 (preselected)
  </label>
  <label class="btn btn-primary">
    <input type="radio" name="options" id="option2" autocomplete="off"> Radio 2
  </label>
  <label class="btn btn-primary">
    <input type="radio" name="options" id="option3" autocomplete="off"> Radio 3
  </label>
</div>
Radio button solution
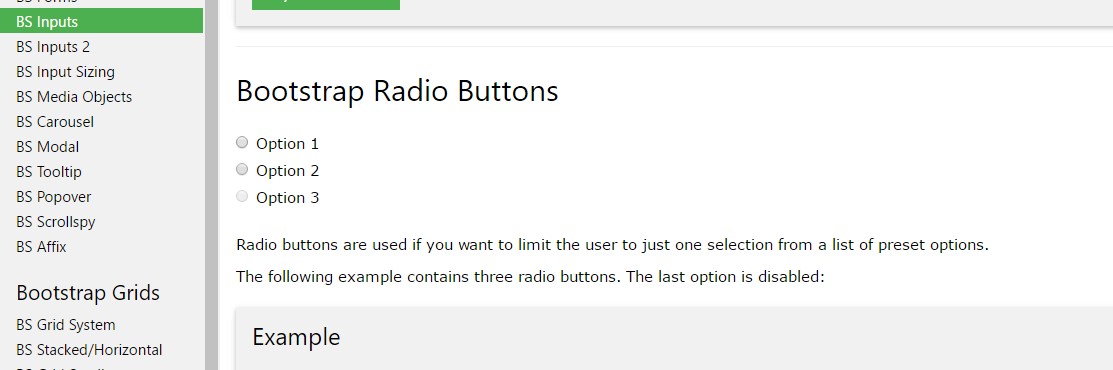
We are able to work with input elements of the radio form whenever we wish the user to select simply one of a variety of selections. ( see post)
Solely just one have the ability to be chosen while there is more than a single element of this particular option by using the same value in the name attribute.

<div class="row">
  <div class="col-lg-6">
    <div class="input-group">
      <span class="input-group-addon">
        <input type="checkbox" aria-label="Checkbox for following text input">
      </span>
      <input type="text" class="form-control" aria-label="Text input with checkbox">
    </div>
  </div>
  <div class="col-lg-6">
    <div class="input-group">
      <span class="input-group-addon">
        <input type="radio" aria-label="Radio button for following text input">
      </span>
      <input type="text" class="form-control" aria-label="Text input with radio button">
    </div>
  </div>
</div>
Final thoughts
Basically this is the way the default radio buttons get defined and carry on along in Bootstrap 4-- right now all you require are several opportunities for the users to select from.
Examine a couple of online video short training relating to Bootstrap Radio Button:
Related topics:
Bootstrap buttons formal records
Bootstrap Radio button - short training
Checkbox radio buttons break entire toolbar styling
